Red and green colors are very popular in the Indian culture. You will see their use in traditional occasions and also in bridal wear. These colors are also popular in the Muslim culture. Other than this, we often like floral prints for our party wear or summer clothes. To match all those red and green outfits, you may want to give a shot at trying a red and green nail art.
Today I will show you one of my personal favorite red and green nail arts. This is a rose nail art tutorial where I will use the colors red and green in such a way that this design will suit almost all sorts of red and green outfits. Roses look ravishing on the nails and they are not difficult to draw up too. This tutorial will explain how you can come up with a lovely rose nail art set in two bright and bold colors viz. red and green. You can wear this nail art with your lehengas or georgette saris when going for a wedding party. You can also wear this nail art when going out for shopping on a summer day with your friends.
Things required:
- Base coat (optional)
- White nail polish
- Light blue nail polish
- Acrylic colors in red, dark forest green and light green
- A nail art brush
- Transparent polish
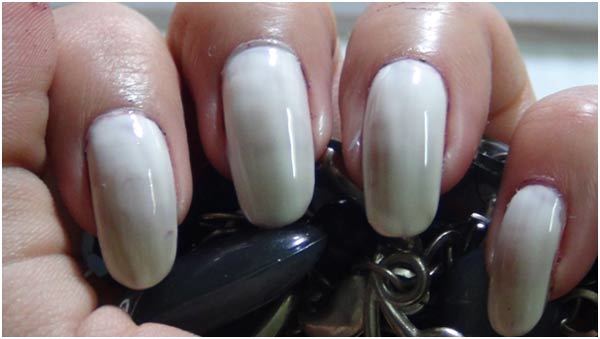
Use a base coat to protect your nails from acrylic colors or chipping. Now use a layer of white nail polish. This will make the base more opaque. The base coat gives extra strength to your nails. So if your nails are prone to chipping or breaking, you should never miss out on a good quality base coat. Let the white nail polish dry completely.
Step 2:
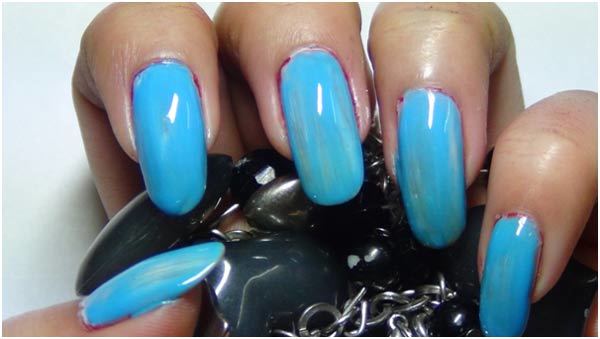
Now use at least 2 nice layers of a light blue colored nail polish. Let it dry completely before we move on to drawing the design.
Step 3:
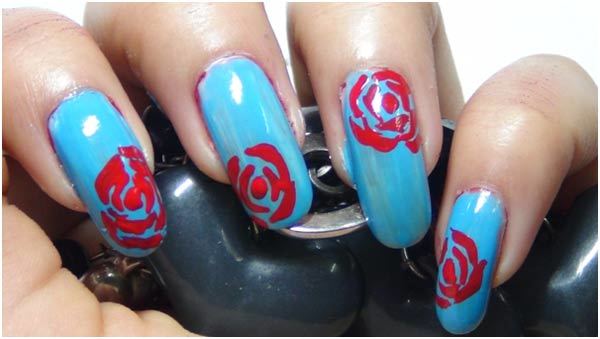
Drawing up some roses may seem very difficult but in reality it is actually very easy. Drawing roses is easier than drawing up one stroke nail art flowers. Take your nail art brush and red acrylic paint in a palette. Now draw up curved half circular lines, one overlapping the other. Refer to the picture below. With one or two trial practices, this design will become very easy to do. You can practice on a plain sheet of paper before trying on your nails.
Step 4:
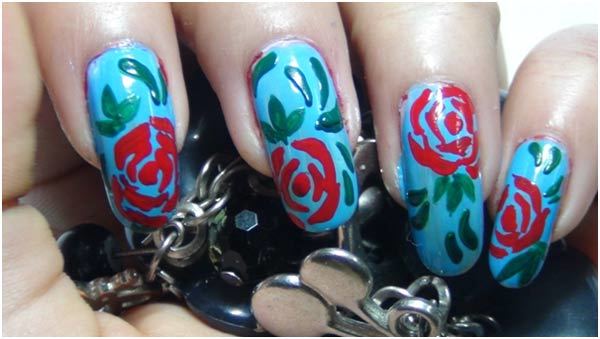
Now take dark green acrylic color and your nail art brush. Make some curved small droplet-like structures. Also, make some 3 leaf patterns. Refer to the picture below. I have done a similar rose and similar patterns for my thumb too.
Step 5:
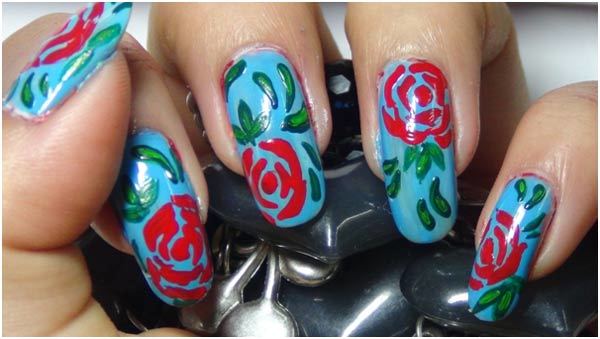
To give this design a more realistic look, I have used a bit of light green color over the dark green color. This will give the whole design a 3D effect.
Step 6:
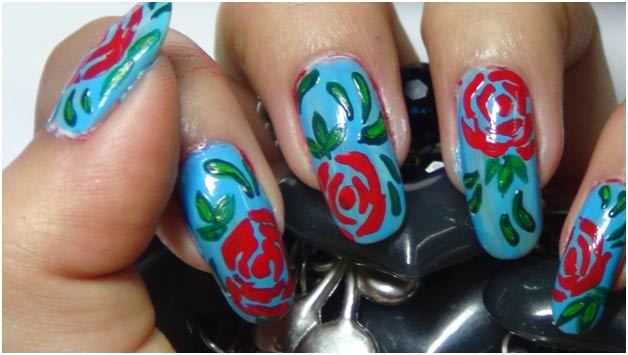
Now let the whole design dry completely. When it is properly dried, use 2 coats of a good quality top coat to seal in this beautiful design. It should look something like below.
It is not just pretty but will go with almost all types of outfits be it party wear, traditional saris or salwar suits. You can also wear this with floral print, simple kurtis to complete your look. If you like wearing shorts and skirts, then you can wear a nail art like this one with bright colored shorts or skirts. Hope you enjoyed this red and green rose nail art tutorial and will definitely give this a try. Don’t forget to share how it turned out with us!


0 comments:
Post a Comment